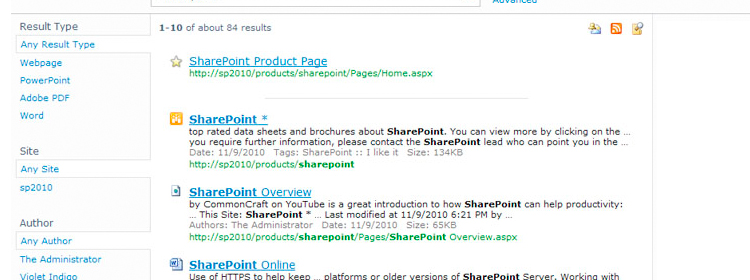
Visual Best Bets in SharePoint 2010 without FAST
Using visual best bets is a very simple way to make your best bets stand out, if you don’t have […]
Visual Best Bets in SharePoint 2010 without FAST Read Post »
Using visual best bets is a very simple way to make your best bets stand out, if you don’t have […]
Visual Best Bets in SharePoint 2010 without FAST Read Post »
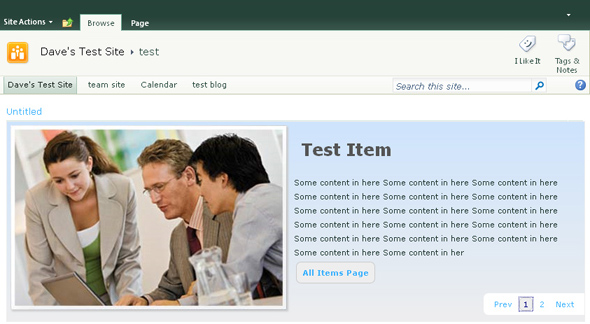
SharePoint Featured Content Slider So I rewrote this web part to work a little better in SharePoint 2010. I made
SharePoint Featured Content Slider for 2010 Read Post »
SharePoint is a powerful tool for collaboration and information sharing. Working on documents, tracking issues, tasks and projects can all
Some thoughts on #SharePoint Adoption Read Post »

So lets say you want users to be able to selectively search content from 3 (or more) different lists (The
Simple SharePoint Search Box with Radio Buttons Read Post »
I started on this post back in July and I am just getting around to publishing it. The out of
Zoomable Photo Grid Read Post »
I meant to post this last week during the conference but I was too busy or too tired to do
So I am at the Best Practices Conference here in Reston VA. I am going to try to post about
My first #SharePoint Conference #BPC2010 Read Post »
A while back I did a post about how to make a vertical news ticker, in the comments several people
A Better Annoucements Ticker Read Post »
So in part one of this post we got all the CSS and other theme file we needed to stuck
Switch Themes Without a Page Refresh: Part 2 Read Post »
Many sites offer the ability for users to change the color and style of the site to fit their preference.
Switch Themes Without a Page Refresh: Part 1 Read Post »